DESN 120B — FUNDAMENTALS OF DESIGN II | SPR 2020 | T/TH 4:00–6:45PM | DSN121
TUTORIALS & HOW-TO GUIDES
HISTORY
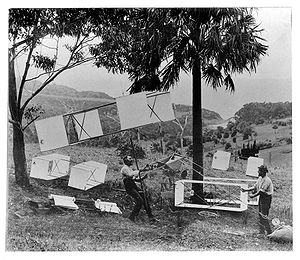
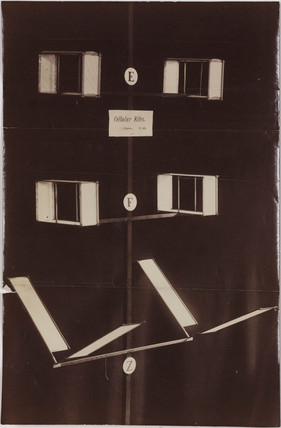
The core of the cellular kite is the box kite, invented in the mid- late 1800s by Australian inventor, Lawrence Hargrave.
Simple elegance is preferred.
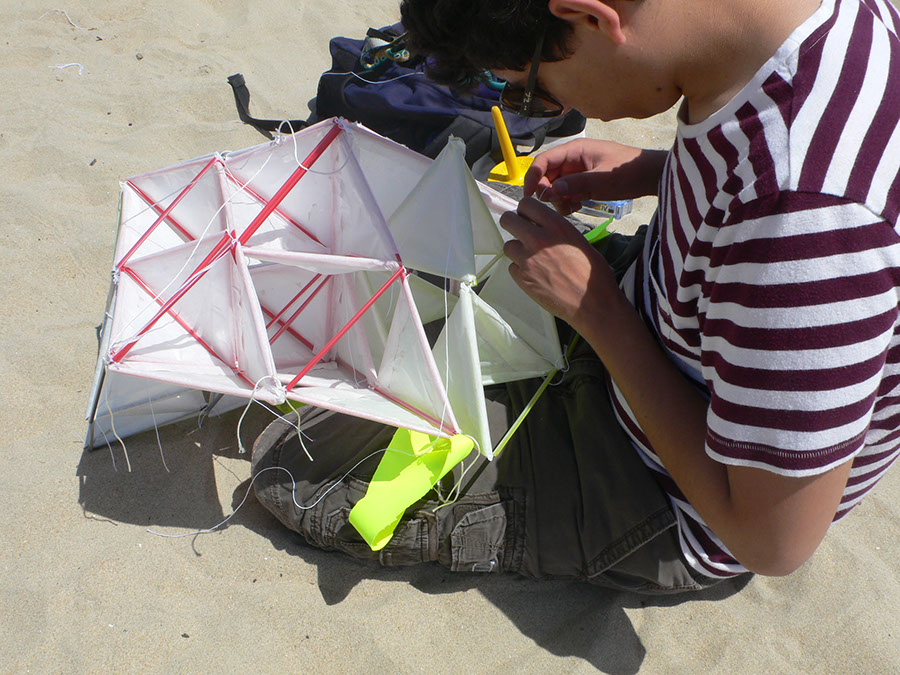
Nicely designed, but
too heavy to fly.
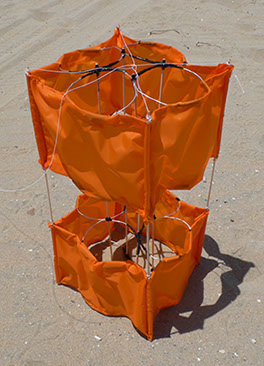
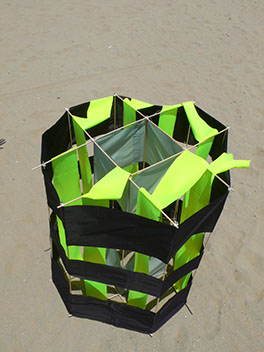
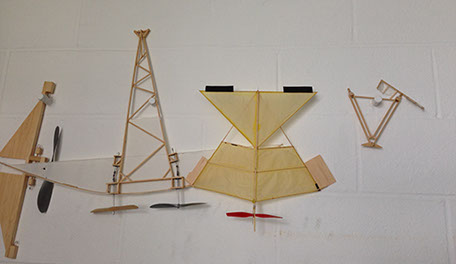
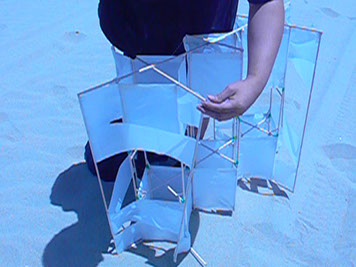
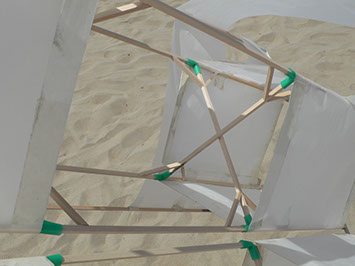
STUDENT EXAMPLES

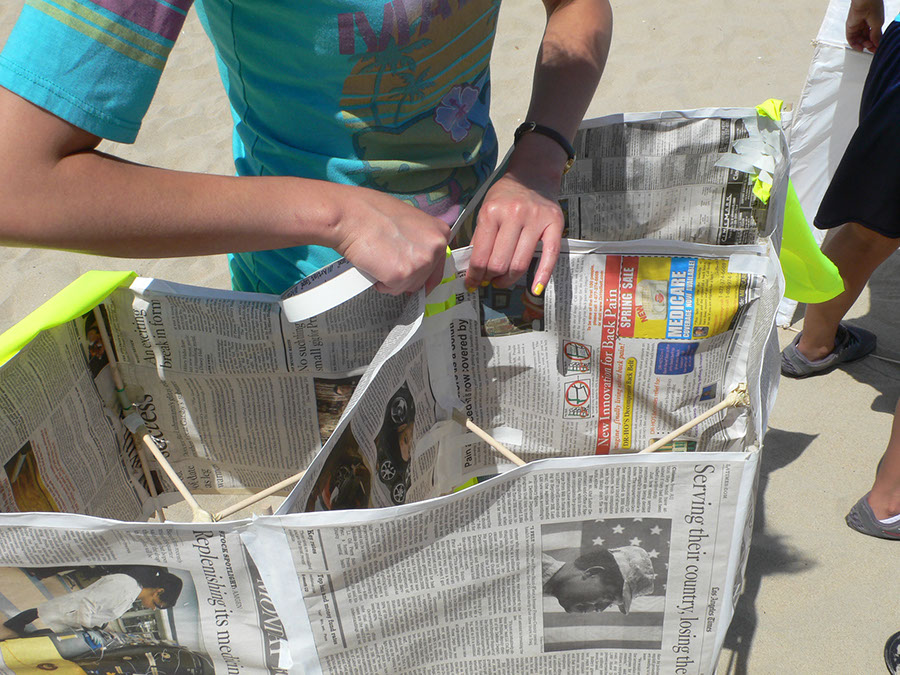
Be prepared to modify your design on site. Bring basic materials tape, scissors or x-acto knife, extra paper and sticks, and string. Modify until it flies.
STUDENT LEARNING OBJECTIVES (SLOs)
Students will:
A. Gain insights into implications of applied design,
B. Gain understanding of repetition as a system,
C. Gain a understanding of physical principles related to enclosure,
D. Further develop their hand-making skills and techniques,
E. Gain experience in design which has a measurable result and consequences.
GRADING AND EVALUATION RUBRIC
Student's learning will be developed through the exploration of mixed media, collage,
drawing and compositional techniques.
Assessment is determined based on one-on-one feedback, and through student verbal presentation
of their concepts and work-product.
The following Rubric will apply in assessment of the student's work product, presentation, and/or process:

^
* Estimate only. See instructor and calendar for specific due dates. Summer Session schedule is more compressed with one week equal to approximately two and half semester weeks.
CSULB | COTA | DEPARTMENT OF DESIGN | BIO

Questions, feedback, suggestions?
Email me with your recommendations.
©2020 Michael LaForte / Studio LaForte, All Rights Reserved. This site and all work shown here is purely for educational purposes only. Where ever possible student work has been used or original works by Michael LaForte.
Works by professionals found online or in publication are used as instructional aids in student understanding and growth and is credited everywhere possible.