DESN 130 — DESIGN DRAWING FOR INTERIORS I | FALL 2019 | T/TH 4:00–6:45PM | ROOM #
INTERIORS | RESTAURANT DINING AREA
SCHEDULE
4 weeks*
PROJECT OVERVIEW
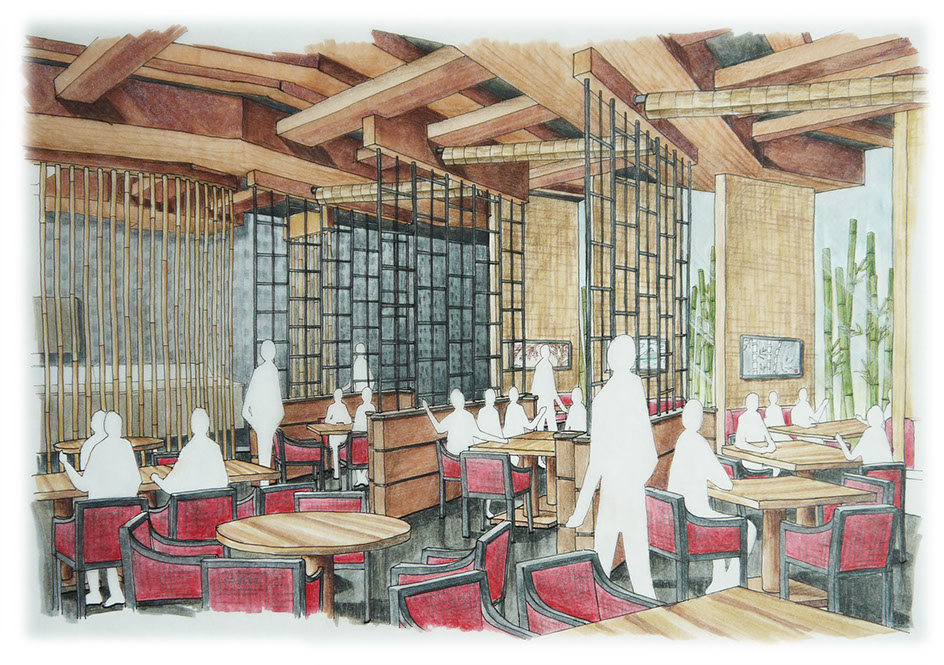
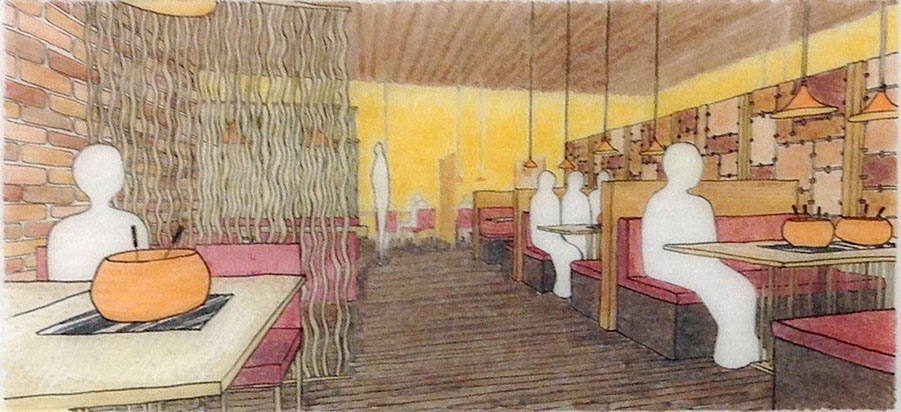
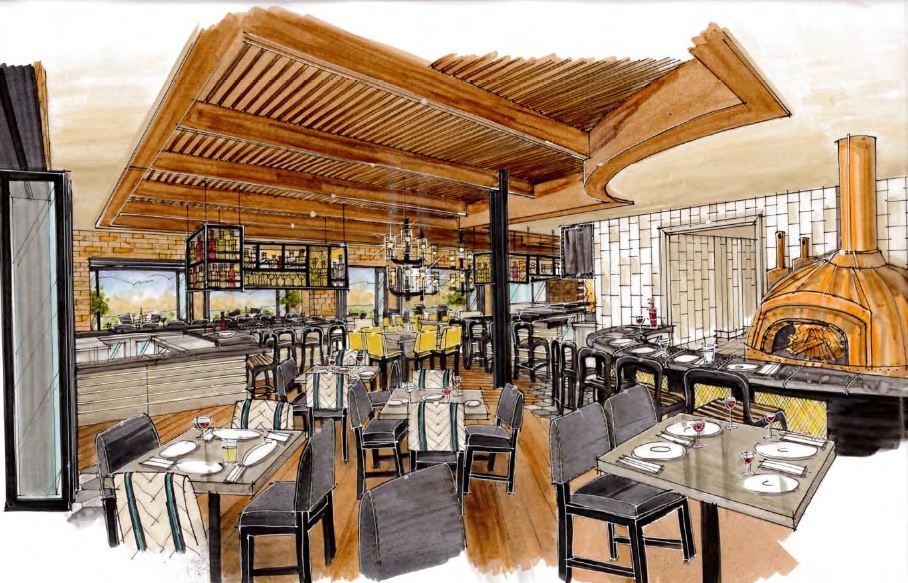
This project is a continuation of the previous Bar assignment. For this project, continue with the theme and concepts developed with your Bar to now design the main restaurant seating area.
Use the 2-pt Grid as a starting point to control proportions and position of objects, especially tables and chairs.
Your restaurant may have any type of seating you wish, but it should correspond with the character and style of the Bar previously created.
Be consistent with outside elements such as the theoretical environment/landscape. If your bar was set at the beach, the restaurant cannot suddenly appear in the mountains, unless it's a lake front bar scene.
STUDENT LEARNING OBJECTIVES (SLOs)
A. To gain strong understanding of fundamental forms,
B. To gain understanding of shadow casting logic,
C. To gain understanding of mirror reflection logic,
D. To develop gray scale marker rendering skills and techniques,
E. To further refine line quality and line weights,
F. To refine presentation and composition skills.
GRADING AND EVALUATION RUBRIC
See main page for details.
SCHEDULE
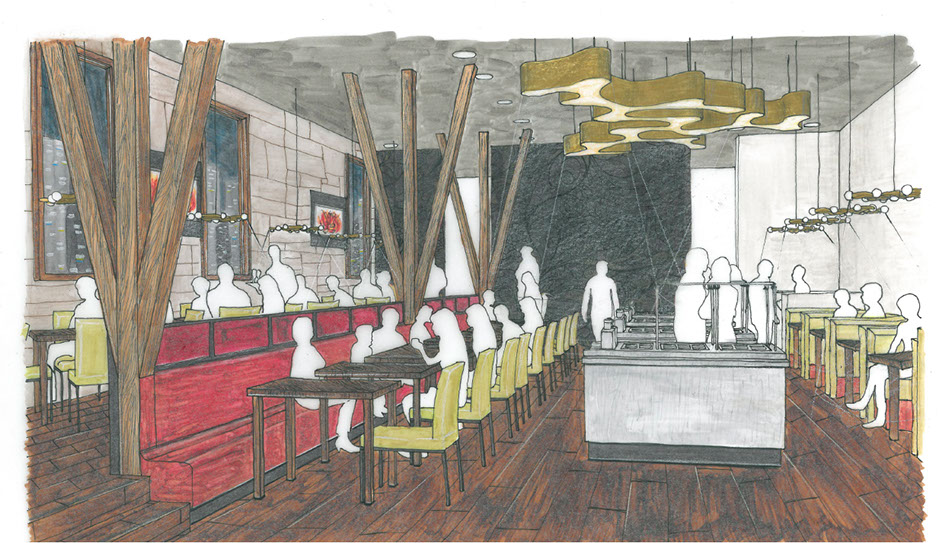
PART 1. FORM GENERATION & COMPOSITION
Start with the principal geometries (boxes/cubes, ellipses, cylinders, cones, sphericals, etc.), then modify the forms with control to create complexity
and interest while obeying the rules of perspective.
Merge/add forms, subtract geometries, round edges, bevel/chamfer
edges, etc.
Add "parting" and "separation" lines to articulate surface or material separations. A sofa has cushions, tufting, etc.
Scale is relative. Your objects should make sense relative to each other
for your product. If you choose to do headphones and ear buds, make sure
the ear buds are in the foreground and drawn large.
VERTICAL REFLECTIONS
Reflect your forms vertically, using quick analysis, where ever there is a polished table, display counter, or a polished floor.
When you render the reflections, be sure to keep them lighter than the objects.
SHADOW CASTING
Cast quick shadows, consider different light sources and proximity, and use your observation to guide you.
PART 2. RENDERING
Using GREYSCALE markers, and detail finishing with Prismacolor pencils, render the following qualities, contrasting qualities, and/or materiality changes:
Matte vs Polished/Chrome
Opaque vs Transparent
Rough vs Smooth - Remember, rough will affect the profile of the surface
Don't worry about the rough layout lines in your draft studies. When you render much of it will become less noticeable and also adds interest to the drawing. Graphite especially can add warmth to your marker work when done well.
REFERENCES AND INSPIRATION
See the Materiality Matrix for some material inspiration.
See Shadow Casting mechanics
See Mirror Reflection mechanics
TUTORIALS & HOW-TO GUIDES

Construction drawing using the 2-pt Grid System.
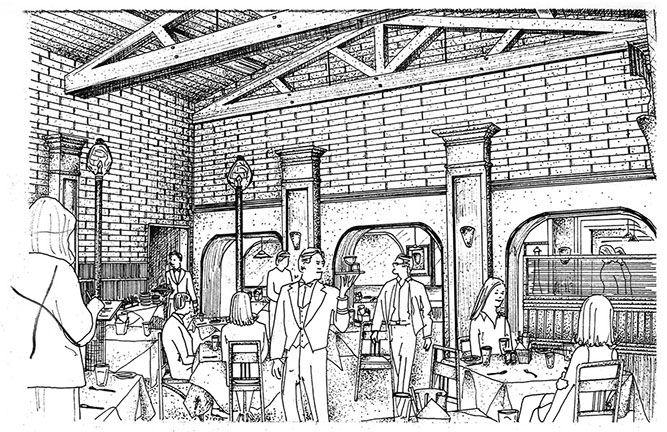
Pen-ink stipple technique 2-pt Perspective.
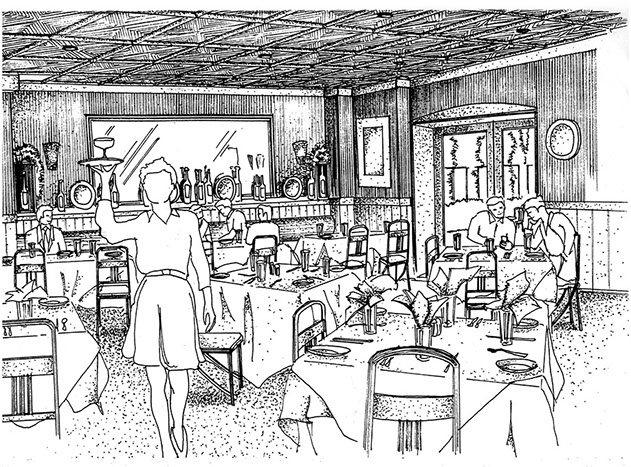
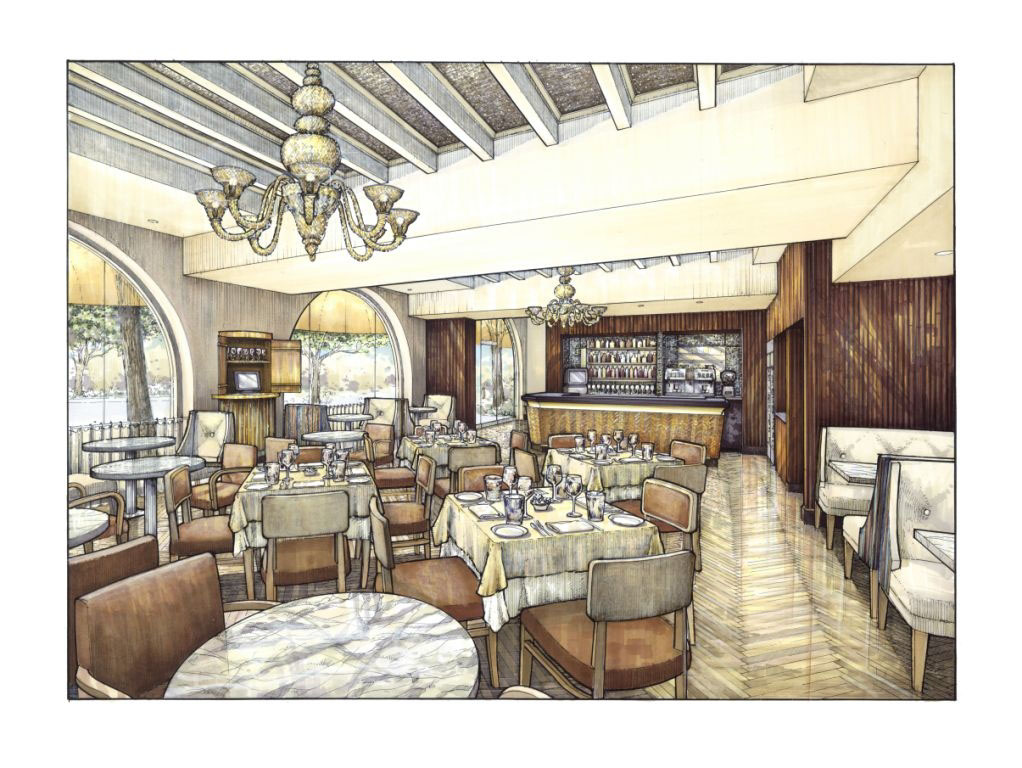
Finished Rendering Examples
* Estimate only. See instructor and calendar for specific due dates. Summer Session schedule is more compressed with one week equal to approximately two and half semester weeks.
CSULB | COTA | DEPARTMENT OF DESIGN | BIO

Questions, feedback, suggestions?
Email me with your recommendations.
©2020 Michael LaForte / Studio LaForte, All Rights Reserved. This site and all work shown here is purely for educational purposes only. Where ever possible student work has been used or original works by Michael LaForte.
Works by professionals found online or in publication are used as instructional aids in student understanding and growth and is credited everywhere possible.