PORTFOLIO BOOKLET SETUP IN INDESIGN
REFERENCES
Reading: Typography
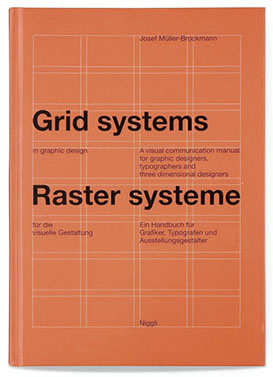 Reading: Grid Systems. Learn how to use a systematic approach to organize your layouts and keep your elements aligned. BUY THIS (OR ANOTHER SIMILAR) BOOK >>
TO LEARN EVEN MORE
Article: Designers Are Remaking the Portfolio Into a Client Magnet Secret Weapon
Check out the book Portfolios for Interior Designers by Maureen Mitton. The title is misleading as it's a relevant and valuable reference for all designers. The book provides short tutorials in Photoshop, Illustrator, and InDesign as well as covering resumes, and presentation and portfolio layout.
VIDEO GUIDES & TUTORIAL
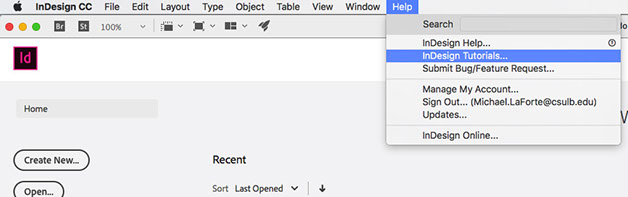
Get familiar with Adobe's Tutorials. They're excellent.
InDesign Help Menu / Tutorials
Other Resources
Lynda.com is available for free to all students via your Single Sign-on account. Look under the Design menu
TUTORIALS & HOW-TO GUIDES

GO BEYOND THE BASIC LAYOUT
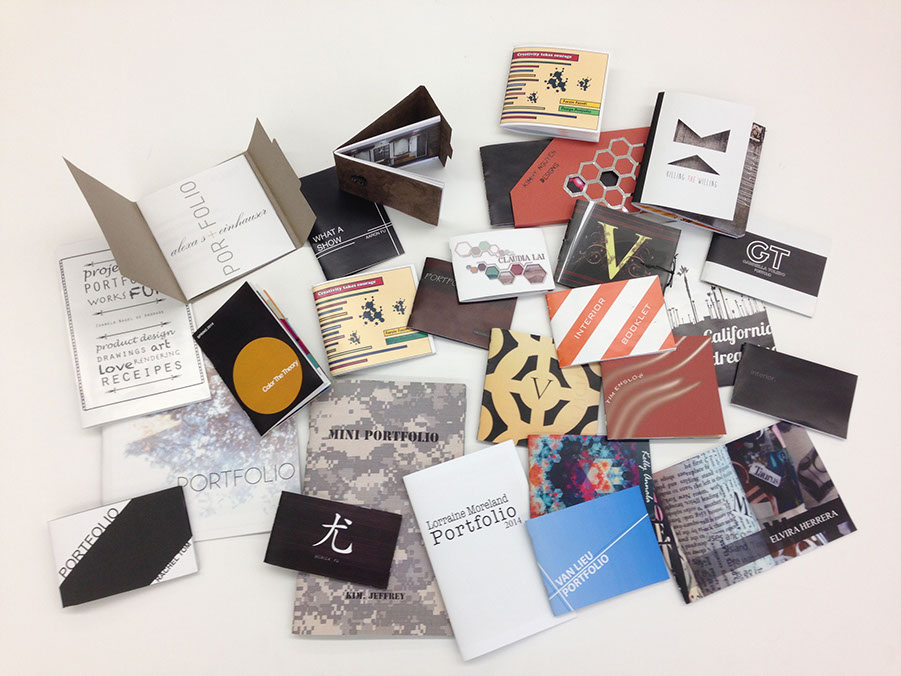
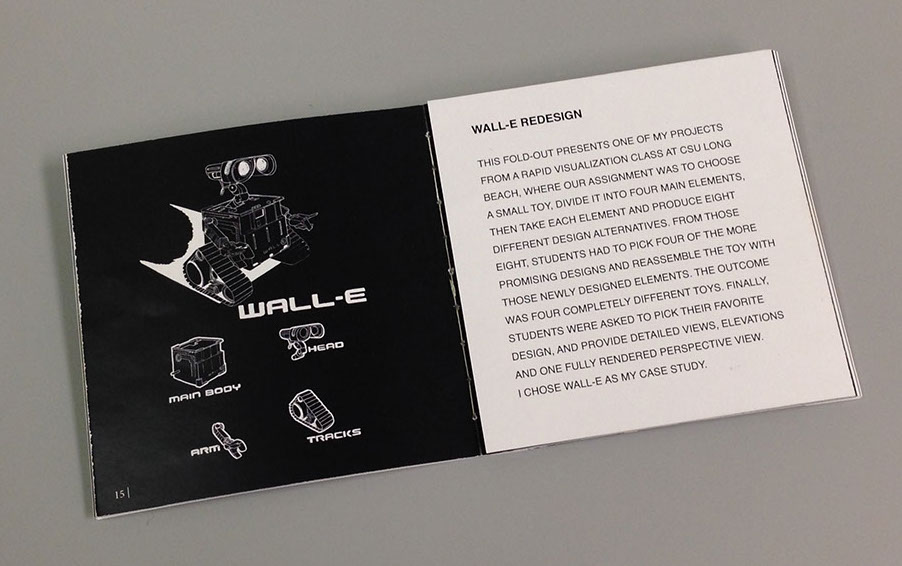
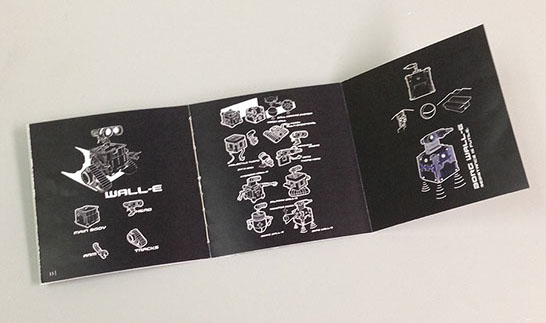
Seek out opportunities to make your book special. The size and format is one aspect, but customized materials used strategically can take it to another level. Consider using a special stock on the cover or work in a fold-out spread. These can be very tricky and in some cases will require a separate file to later be synchronized in final production. While adding complexity may seem intimidating, your final piece will be far more unique and richer
in value as a result of your added effort.
PRODUCT EXAMPLES
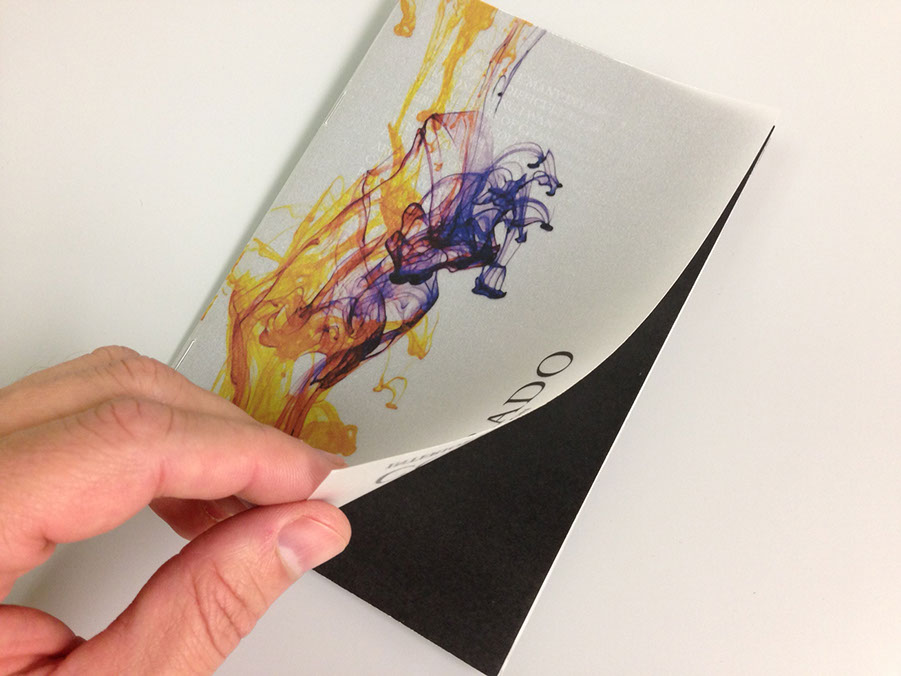
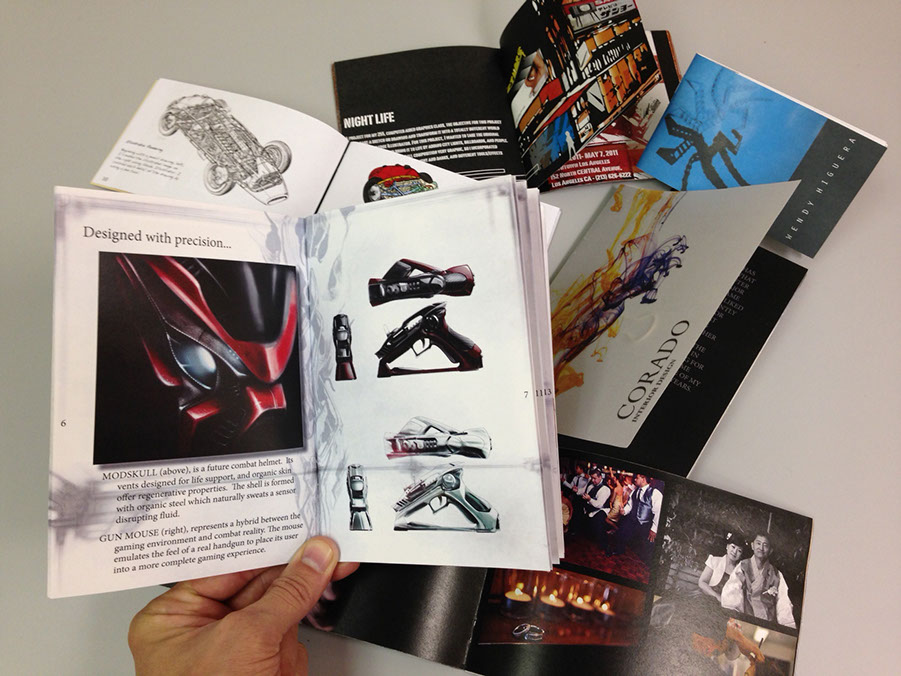
This student used a UV Velum on the cover. In this style of book, the cover layer folds
over to the back.
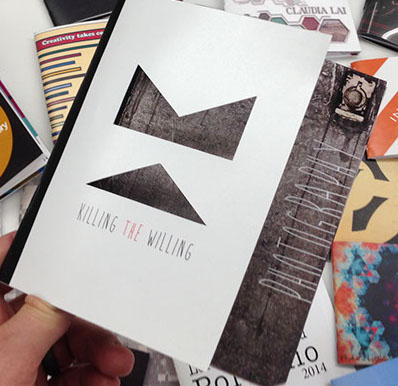
This student hand cut a "window" on the cover, known as a die-cut. The book showcases his professional photography, so he made sure to leverage his images with large editorial style spreads.
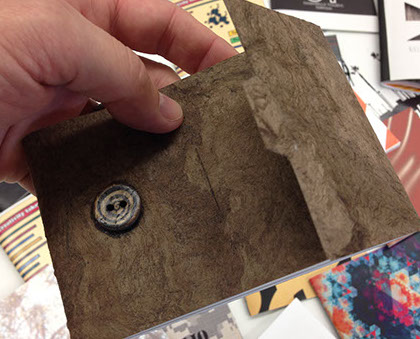
This student added a textured custom paper with a tabbed fold-over cover, creating a tactile experience.
The inside spreads are minimally treated so as to keep the viewer engaged with her work.
GETTING STARTED
Getting Started - Laying out a Print Book. You may wish to skip over the use of Character and Paragraph Styles on this tutorial, at this level.
Create a Layout with Text & Graphics << WATCH THIS LINK
1 | DOWNLOAD AND PRINT THIS REFERENCE
InDesign-Introduction to Basics
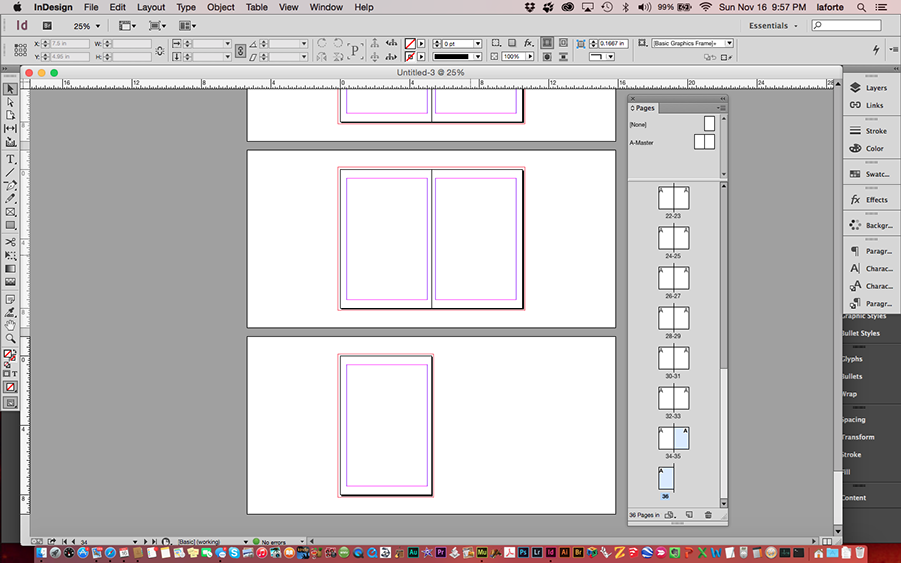
Your book will consist of 9 sheets of letter paper, folded in half, producing a total of 36 pages. The first sheet of paper will also be the front and back cover as it wraps around the book. Below are some reference examples.
2 | LAUNCH INDESIGN
You will get a Create A New Document Screen, and now you can change your working units there. This wasn't always possible, but if while your working you want to switch units, I often do, then follow the next step, otherwise you can jump to step 4.
3 | SETUP YOUR WORKING UNITS
The shortcut is Ctrl (Cmd) + K. Or go to Preferences > Units & Increments... You can always change this at any time, but it's a little easier to work out your page size next when your units are set the way you prefer.
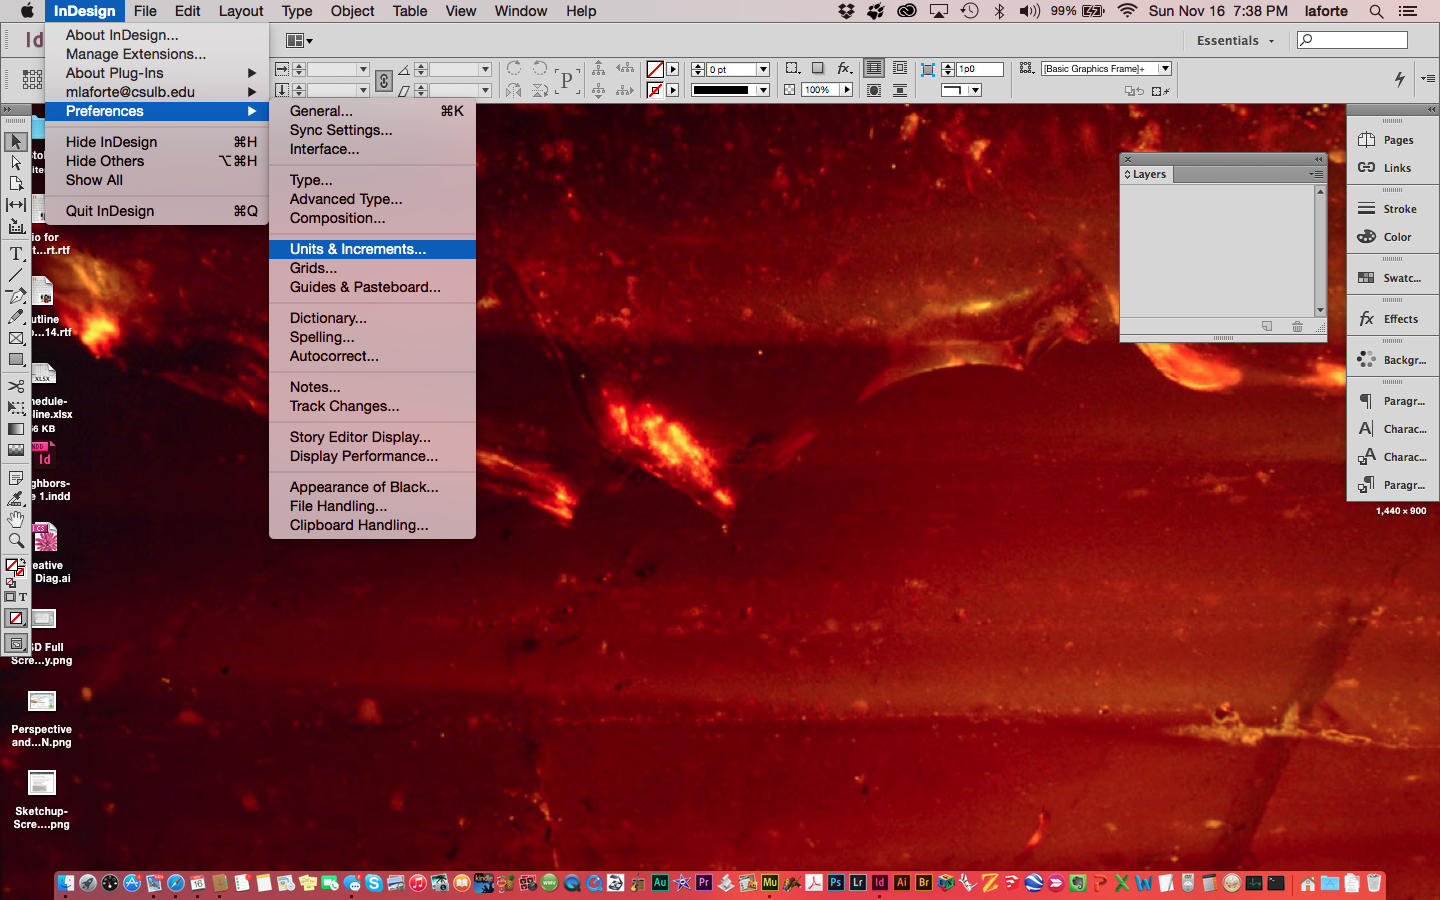
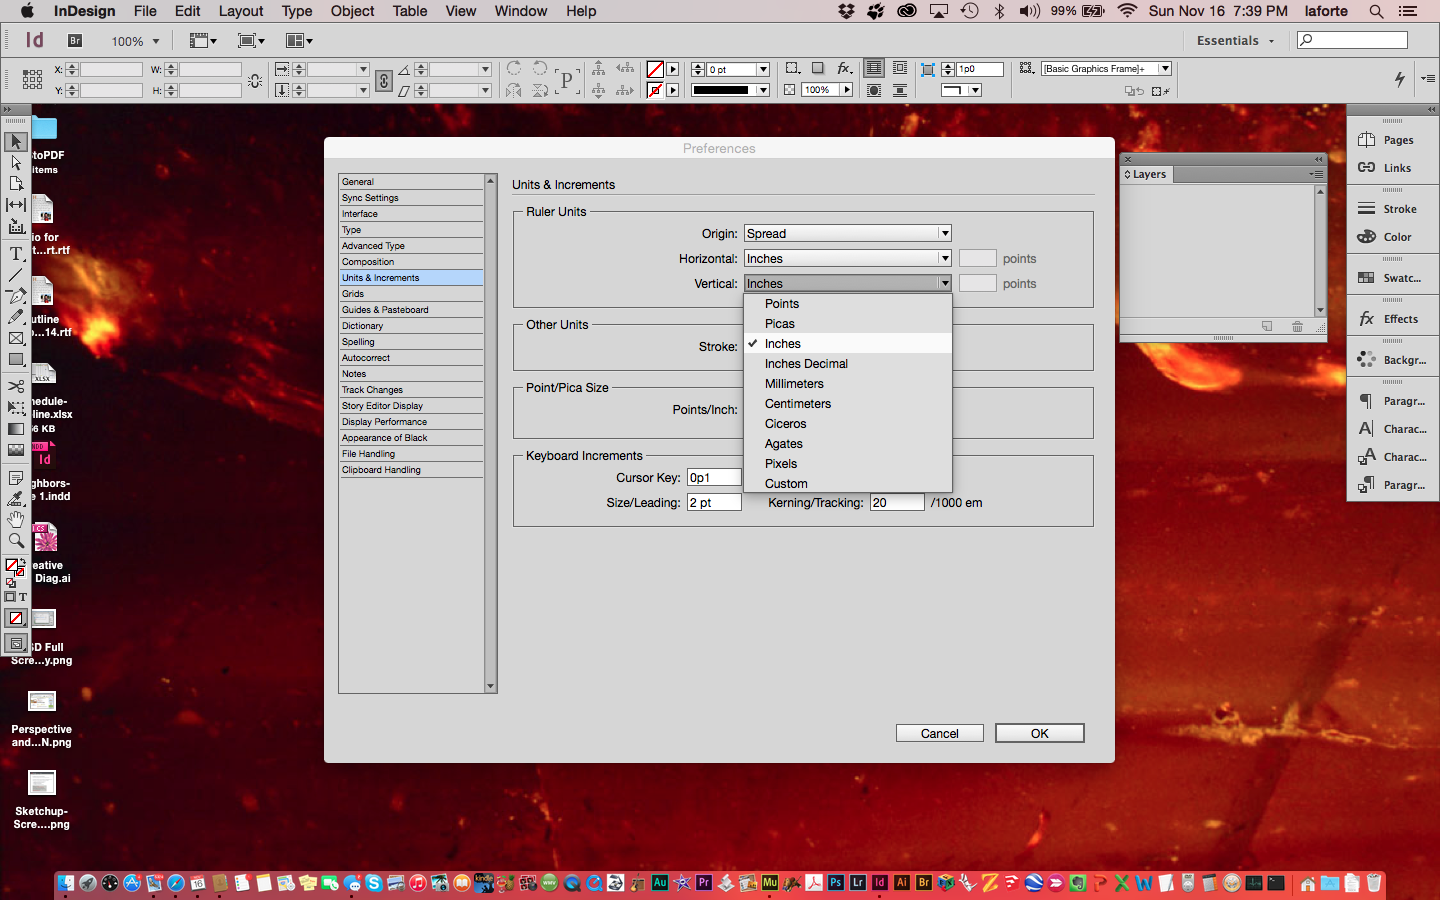
Change both the Horizontal and Vertical Units.
For this demo, I'll use Inches, but you can use any units you're most accustomed to.
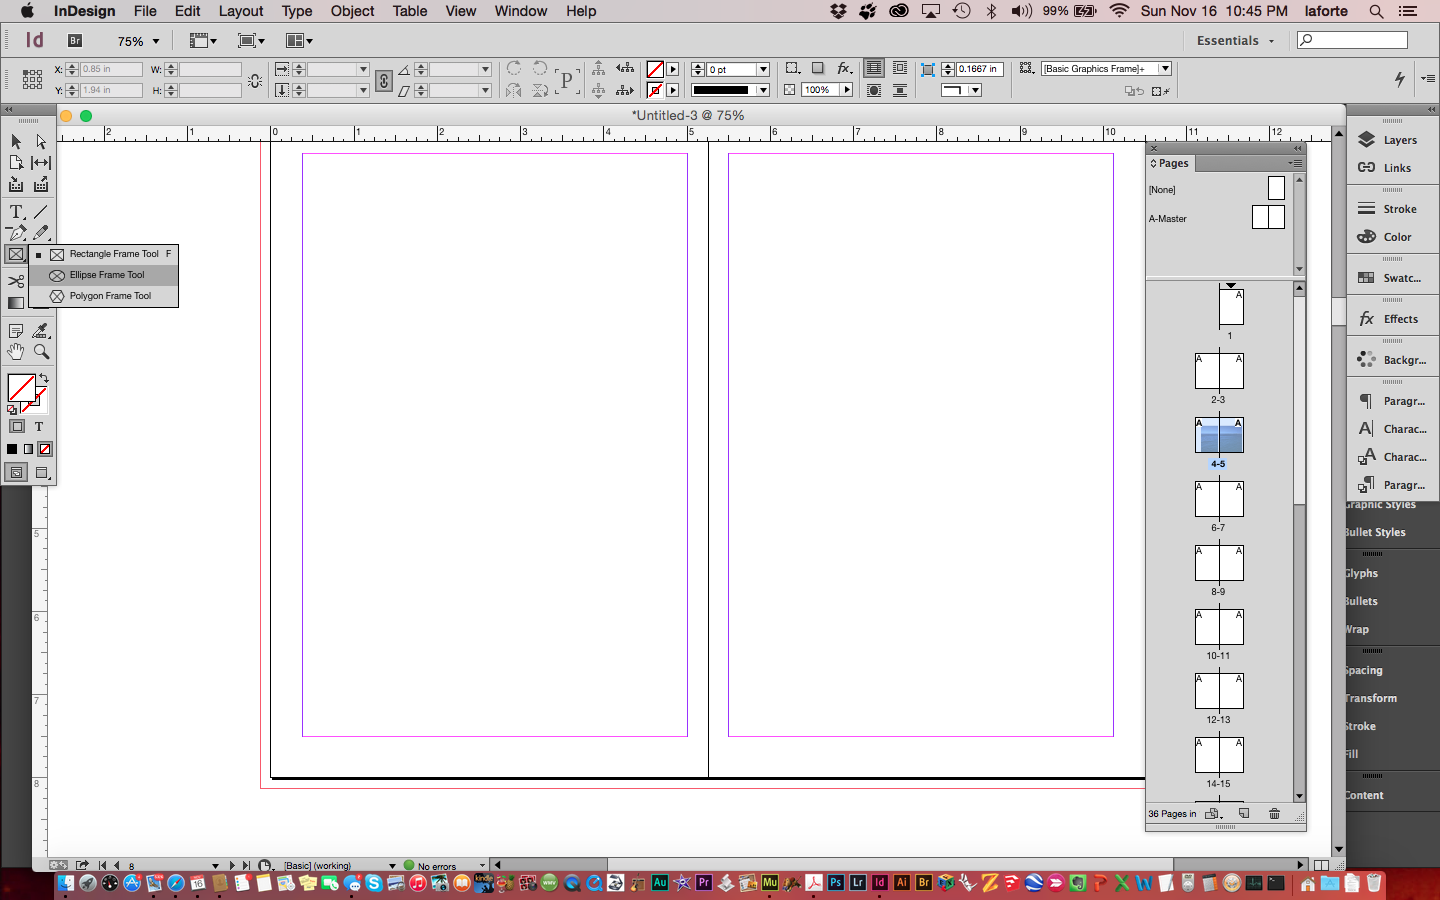
4 | OPEN THE PAGES PREVIEW PANE
Go to the Window Menu and choose Pages. If it's already checked, then look to the left side menus and open it there. Stretch it out vertically as long as possible to see your pages laid out, in the next step.
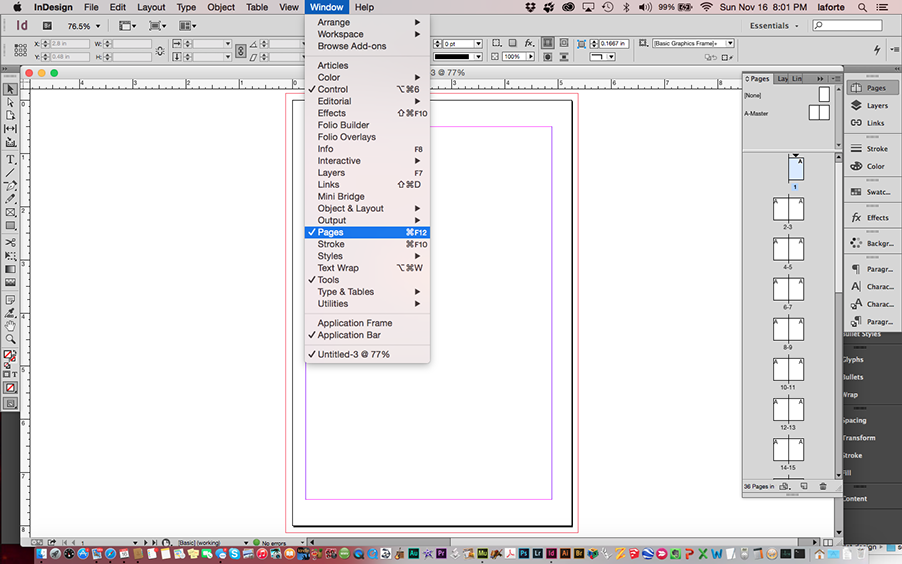
Using the little bar at the bottom, stretch it out as long as your screen will allow.
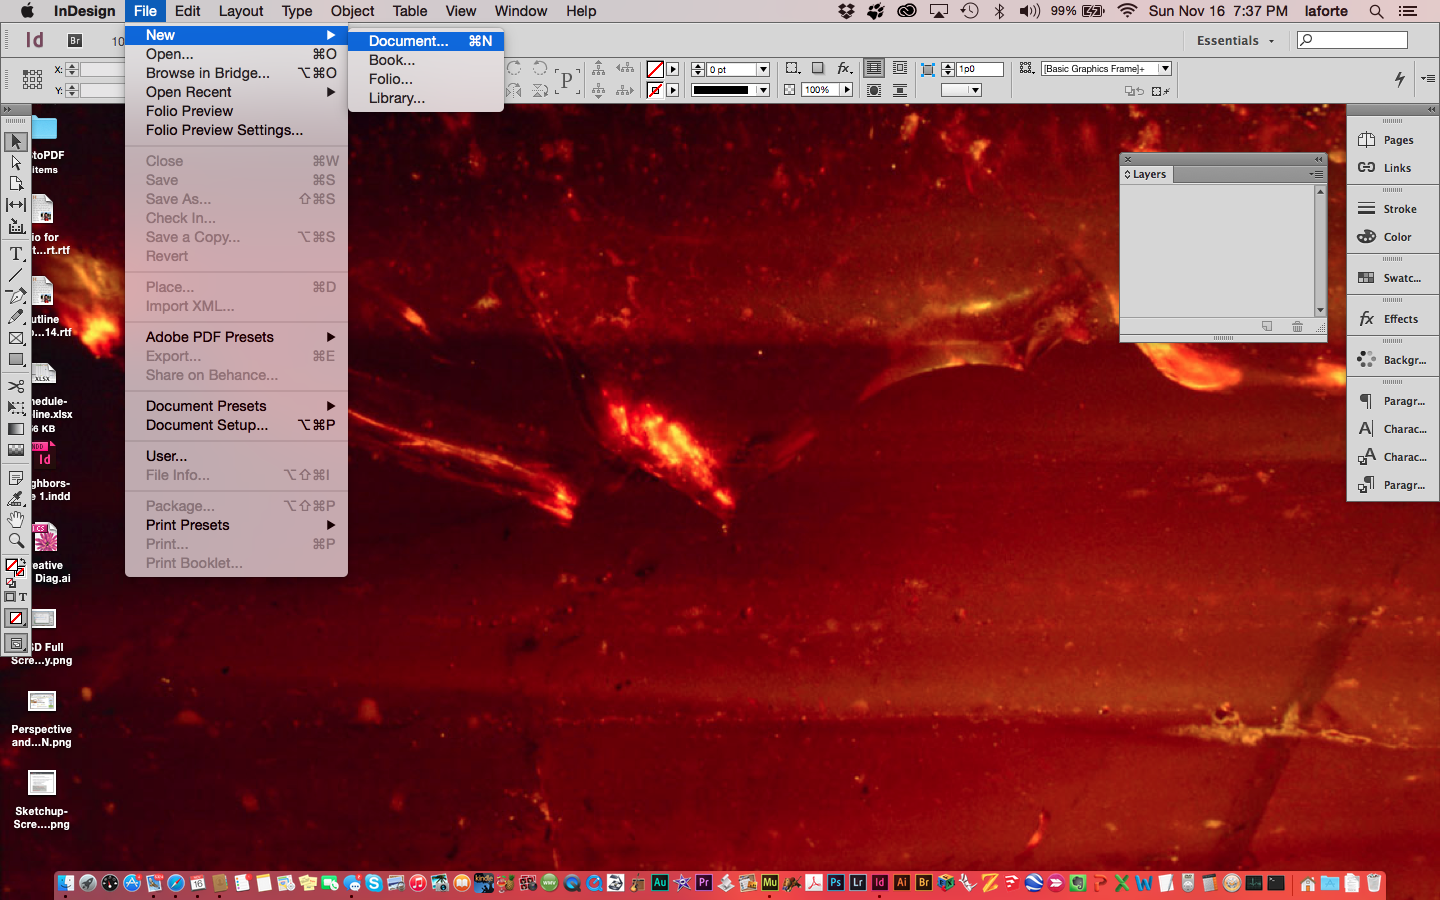
5 | CREATE A NEW DOCUMENT
Go to the File Menu > New > Document. Or, the shortcut is just Ctrl (Cmd) + N. Do not create a new Book or other type of file.
6 | DOCUMENT SETUP
The settings below will produce a 5-1/4"x8" finished sized book, after printing double-sided,
folding the paper, and trimming.You may make your book any size and proportion you like, but keep in mind standard paper sizes.
Letter is 8-1/2x11", folded it's 5.5x8.5"; Legal is 8-1/2x14" and folded 7"x8.5"; and Tabloid is 11x17" or 8.5x11".
For this type of book, when setting up your "Page Size", subtract approximately 1/2" from the finished
size in order to allow for printing with bleed and hitting the finished size after trimming.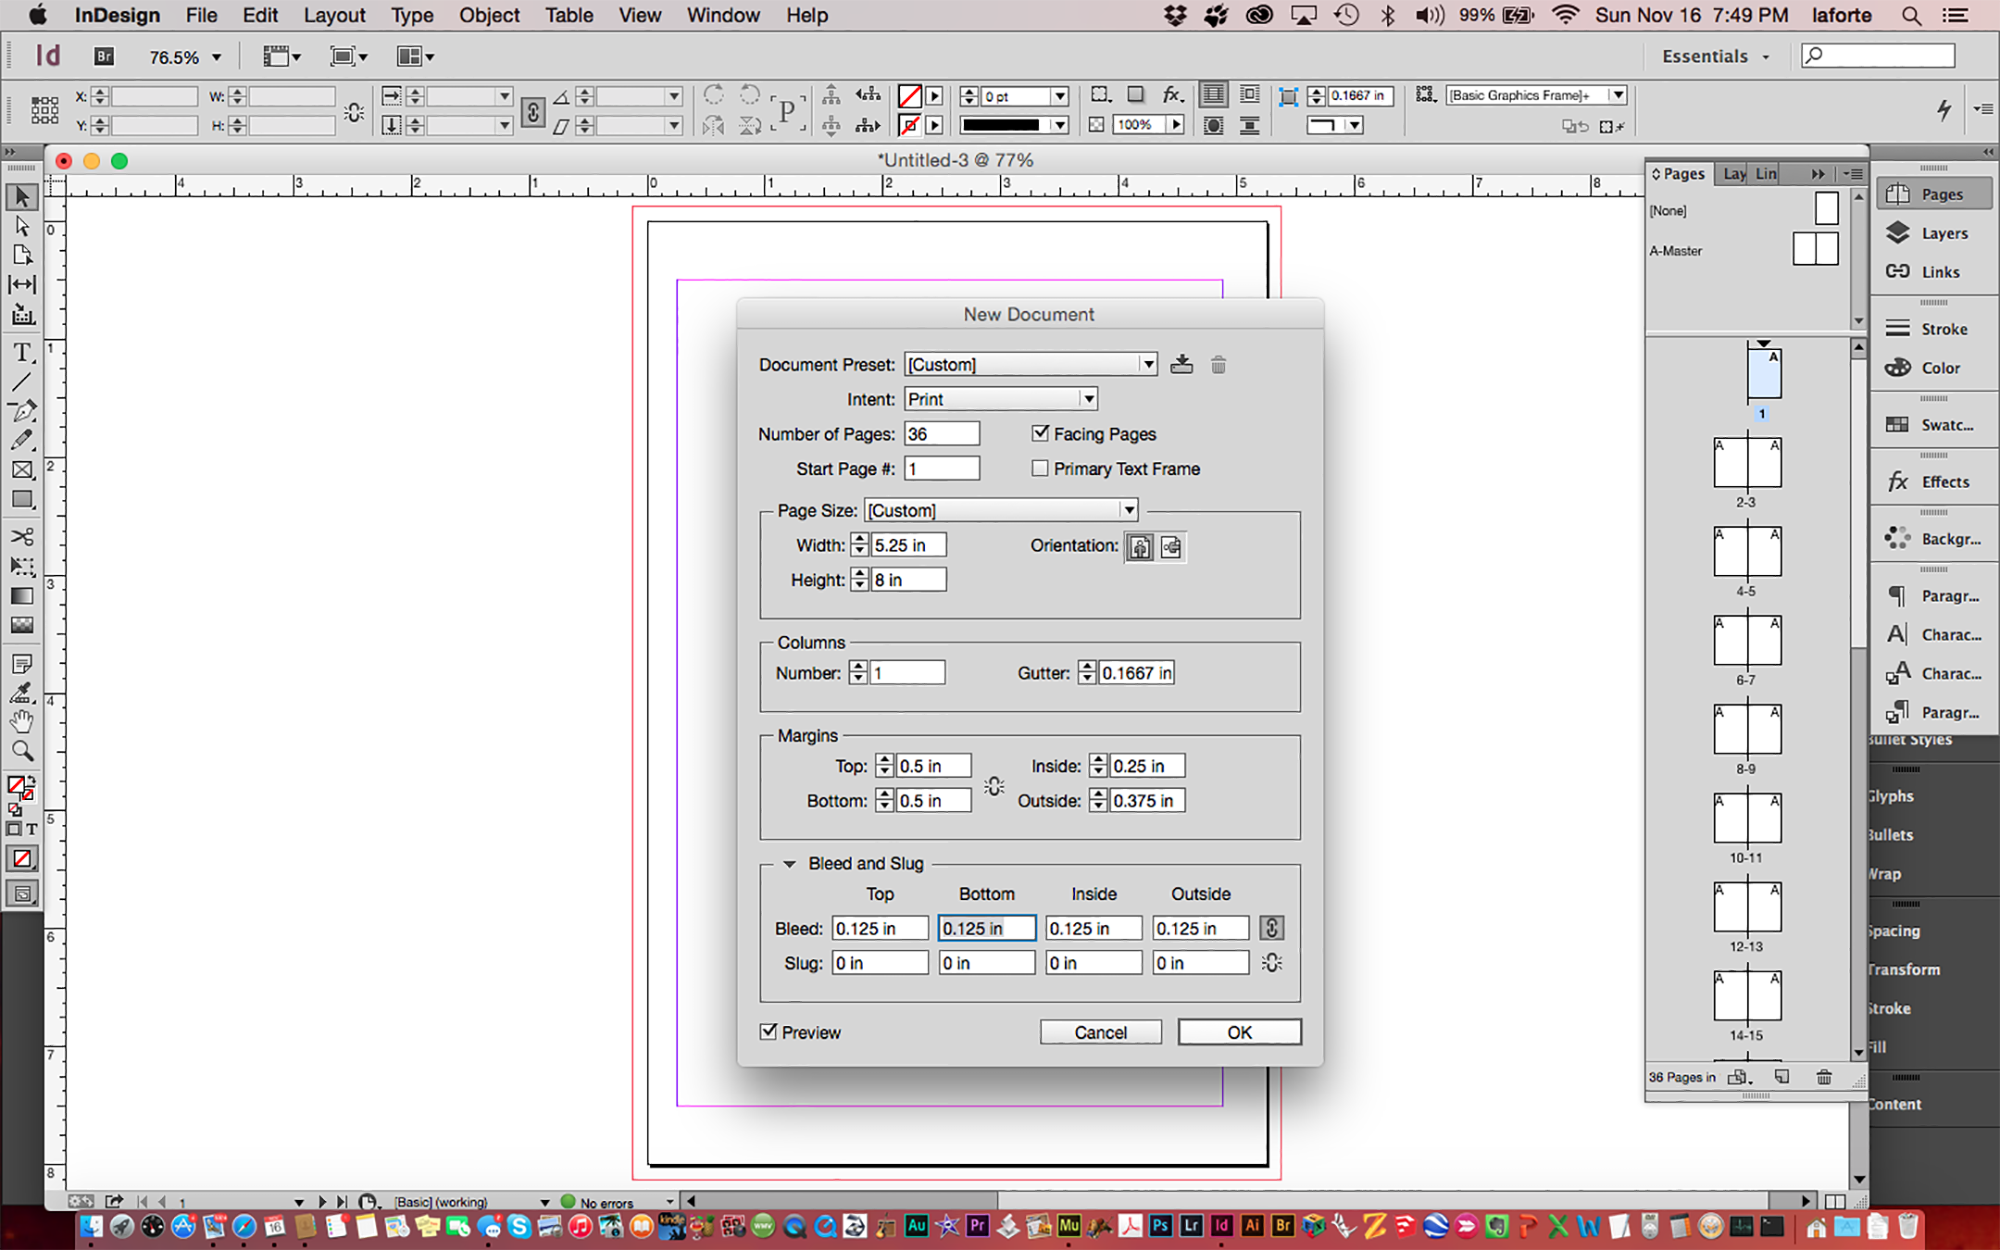
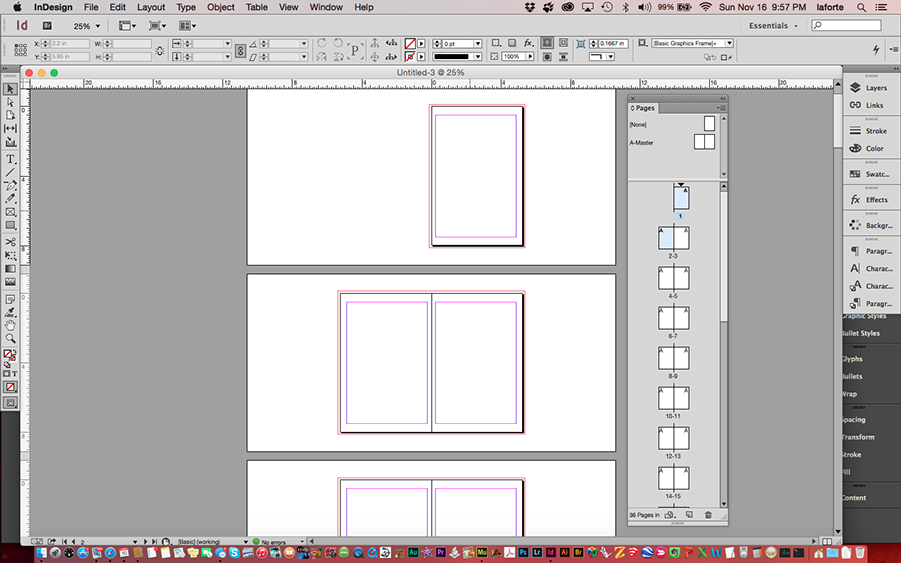
7 | WE'RE OFF AND RUNNING
Notice that the Pages Preview Pane is a thumbnail representation of your book. Page 1 will be the cover while page 2 will be the inside page of the cover. Correspondingly, scroll down to the back of the book and page 35 is the inside of the back cover and page 36 is the back cover.
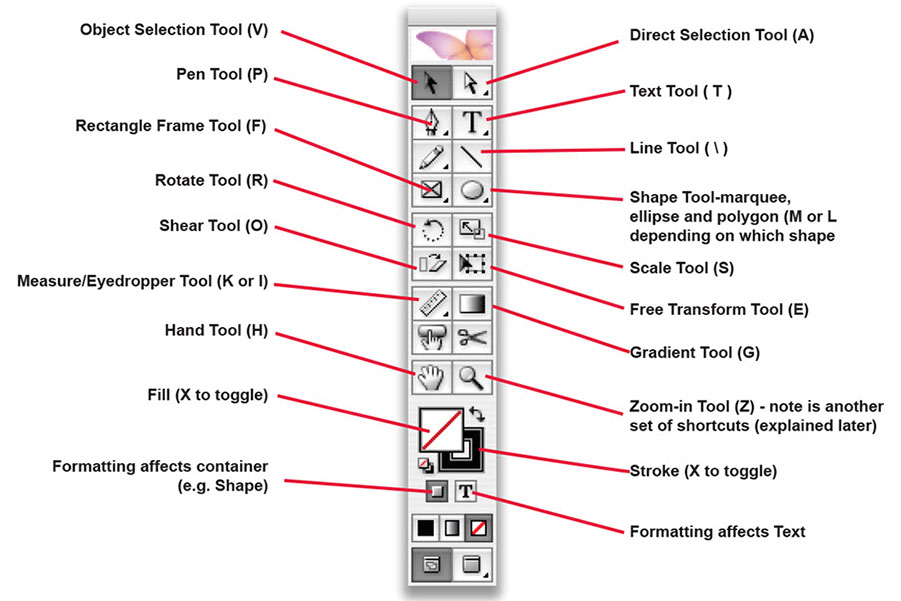
8 | THE TOOL PALETTE
90% of the tools that you’ll use in InDesign can be located in the tool palette. Although there are shortcut key that can make selecting tools faster, this is the one place you would go to find what you need. Note that this tool palette is from CS2. Later versions of InDesign have slight differences, but for the most part the main tools that you use are the same. Here are the most commonly used tools with their keyboard shortcut.
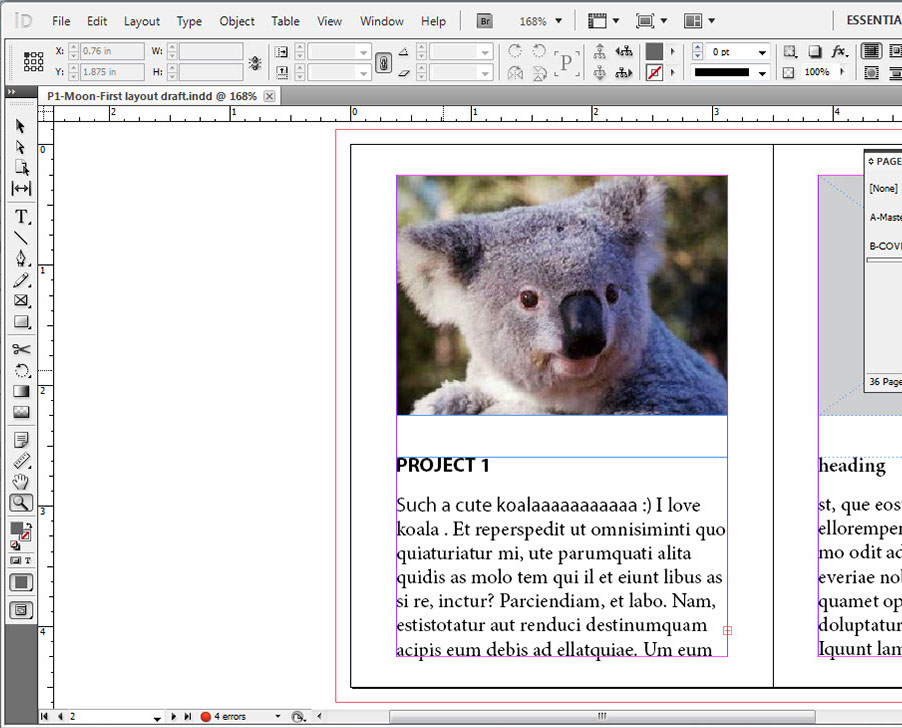
9 | PLACING IMAGES
You can place images (and graphics) into your layout in several ways.
THERE IS NO SINGLE RIGHT WAY, ALL WORK AND HAVE DIFFERENT PROS/CONS.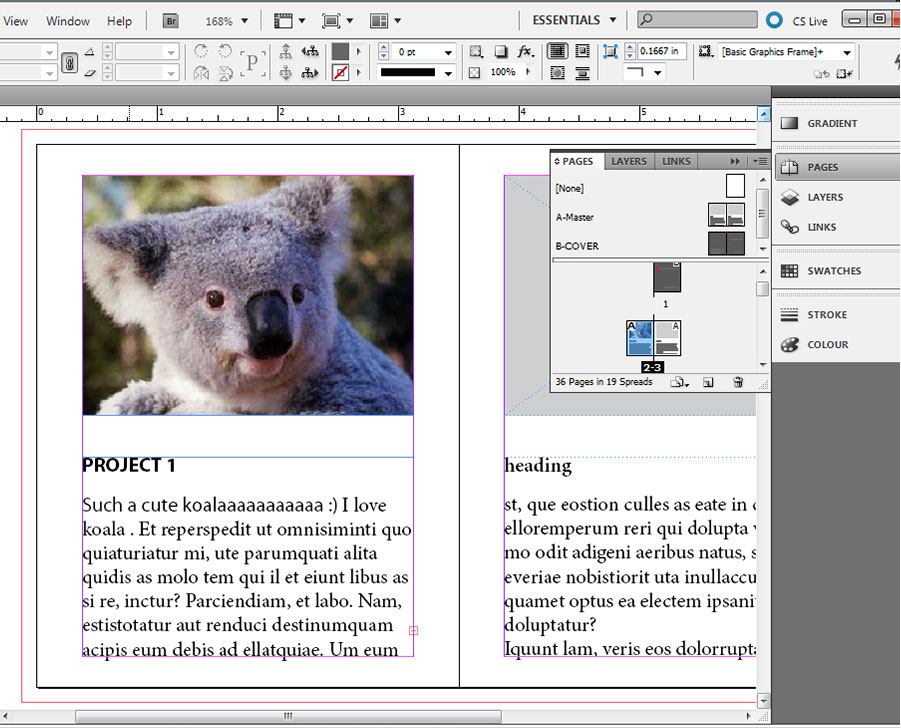
METHOD 1
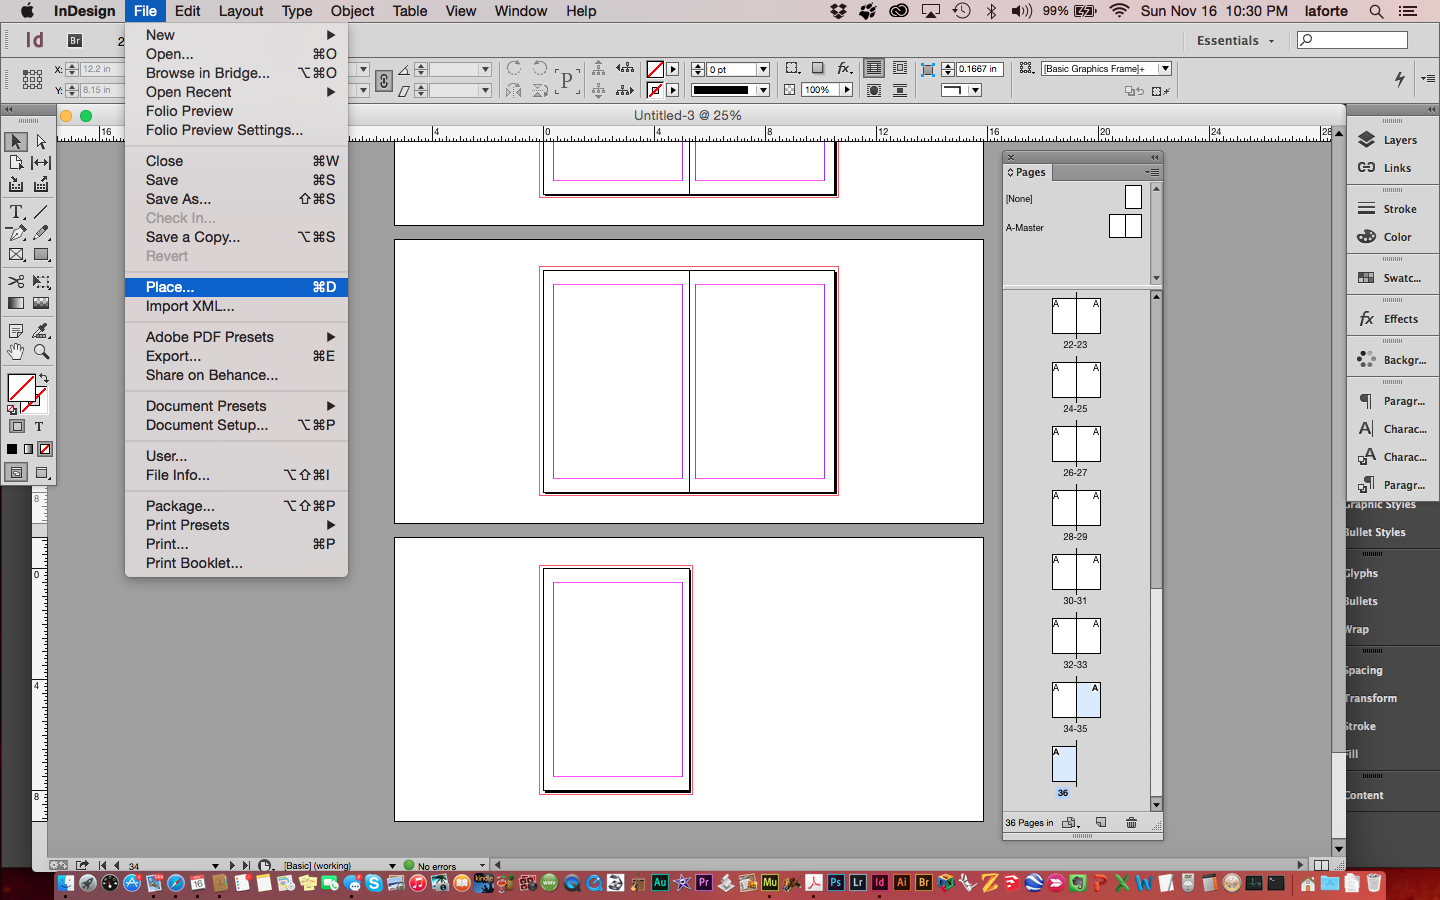
One way to go about it is to use the File Menu > Place option, also Cmd (Ctrl) + D, shown at right.
METHOD 2
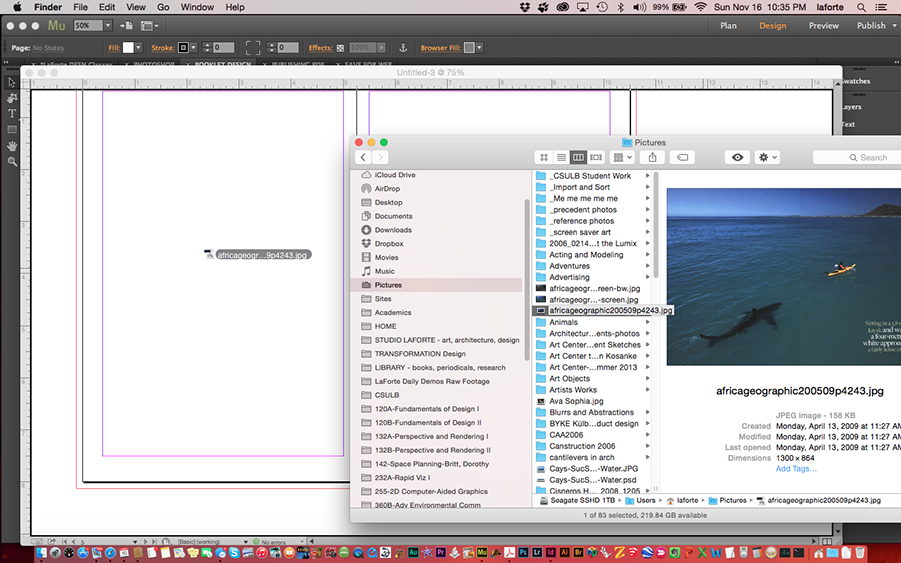
Another method is to simply drag the file you want from the finder window onto your document, as shown below.
METHOD 3
And finally, the last method is by creating a Picture Box using the Frame Tool, indicated here. If you click and hold down the mouse on this shape, you'll see many other shaped frames to choose from. Just like in Illustrator and Photoshop, use the Shift key when dragging this shape and it'll constrain the proportions to a perfect square or circle. Once you have your shape created, use the Place...
or Cmd (Ctrl) + D shortcut to locate the photo or illustrator graphic you want to place.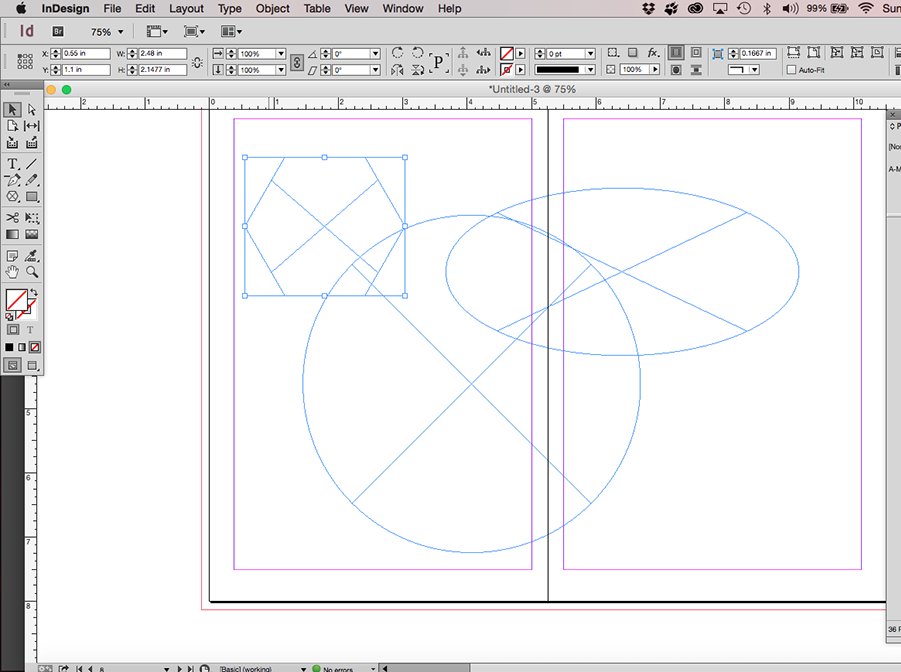
10 | PLACING TEXT
Go to the T tool and drag a text frame. Now you can type your text, or copy an paste text from another document, such as from an email message.
11 | ADDITIONAL TOPICS
The steps above should have your project underway. The following are some of the many other topics we will cover in class and covered in this guide InDesign-Introduction to Basics:
CREATING GUIDES
USING GRIDS FOR ORGANIZING YOUR CONTENT
USING MASTER PAGES
CREATING OTHER GRAPHICS
MORE SHORTCUT COMMANDS
USING THE SAMPLE TOOL TO
COPY ATTRIBUTESFILL AND STROKE COLORS
AUTOMATIC PAGE NUMBERING
USING MASTERS
MORE SHORTCUT COMMANDS
TEXT FRAMES
MULTIPLE COLUMNS
FLOWING TEXT
FILL AND STROKE COLORS
LEADING, KERNING AND OTHER
TEXT FORMATTING
This piece by Amin Ghassemi features a foldout spread in the center of the book. He also used a classic threaded stitching rather than the faster modern staple stitch. A subtle and value-added detail that is truly felt by the recipient or reader.
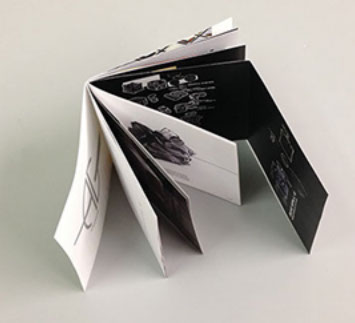
PROFESSIONAL EXAMPLES
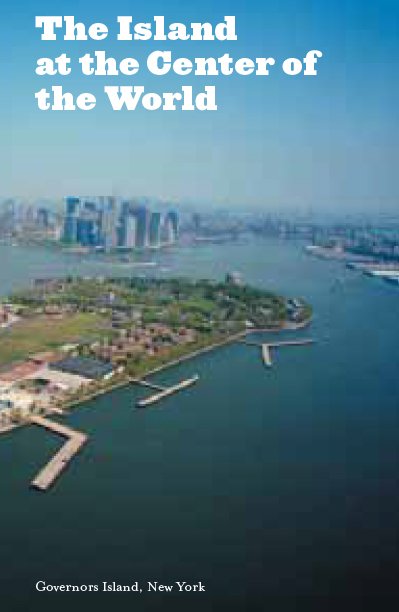
Left: Front cover, jacket
Below: First open appearance with jacket inside front left, and inside book on right.
Below left, jacket has horizontal fold-overs.
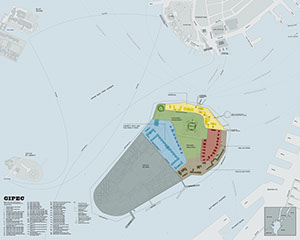
Below right, full map is revealed when jacket is fully opened
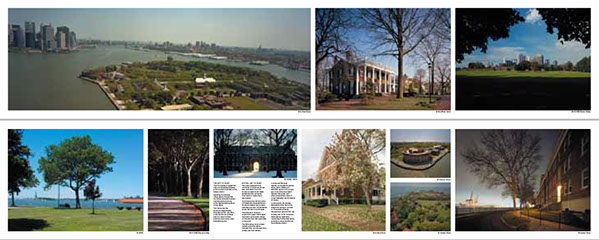
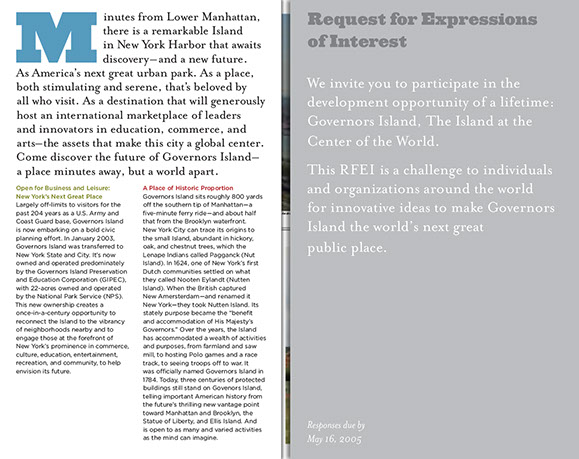
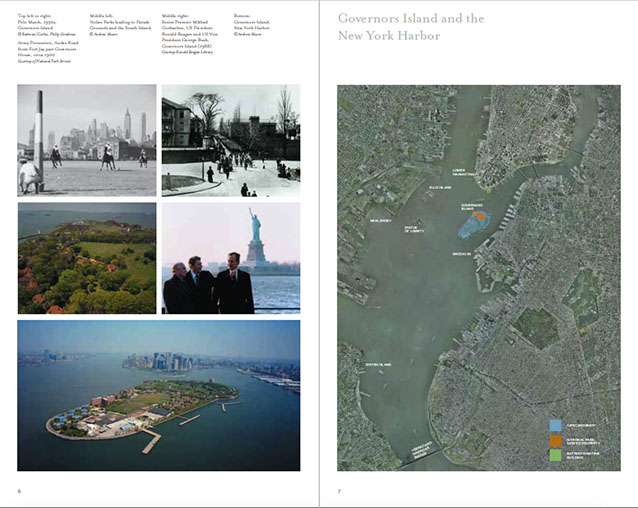
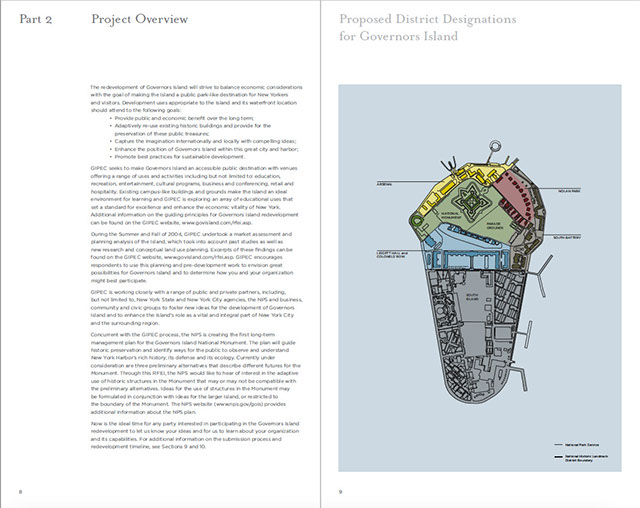
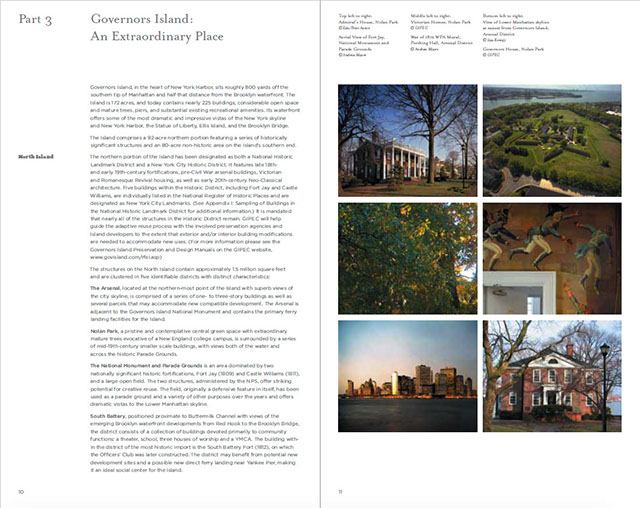
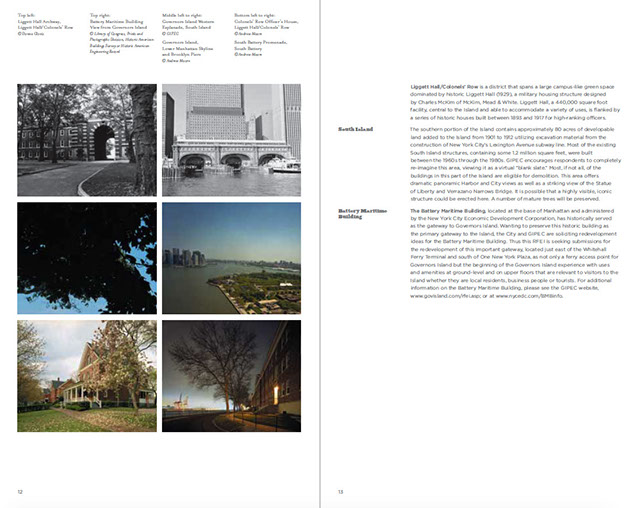
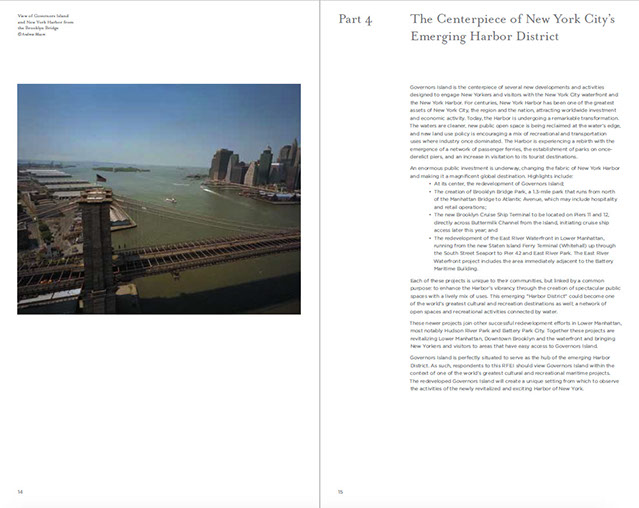
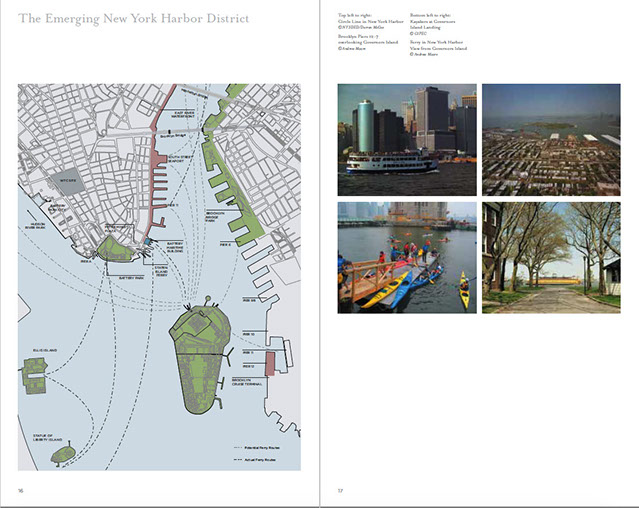
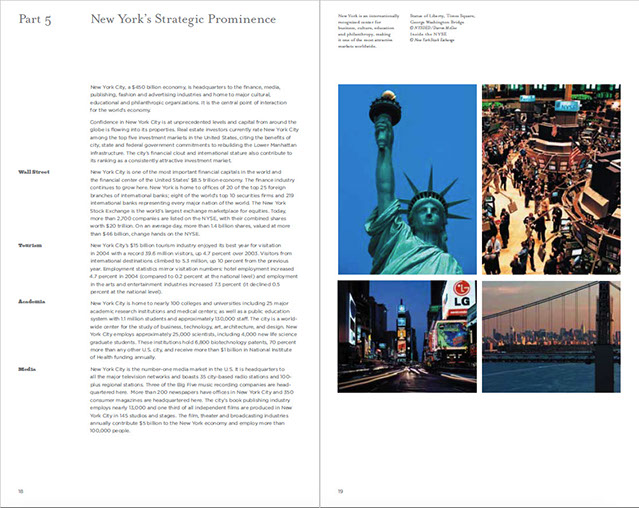
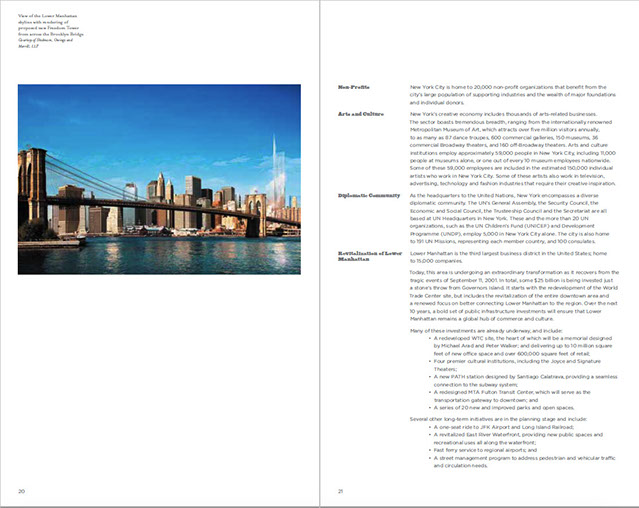
Left, insert spreads,
the core of the content.
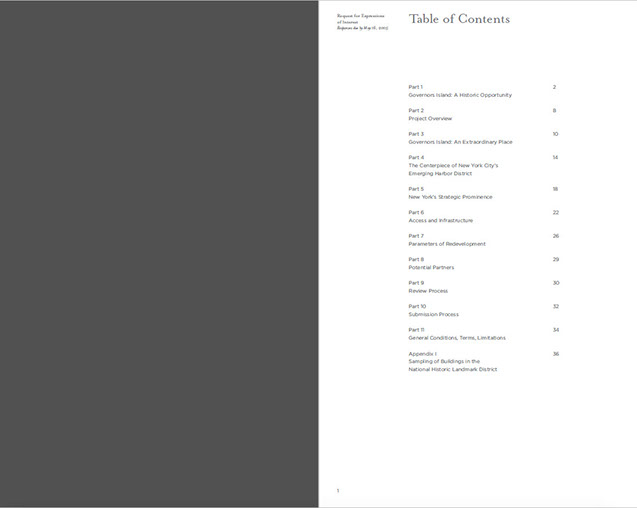
Page 1. TOC
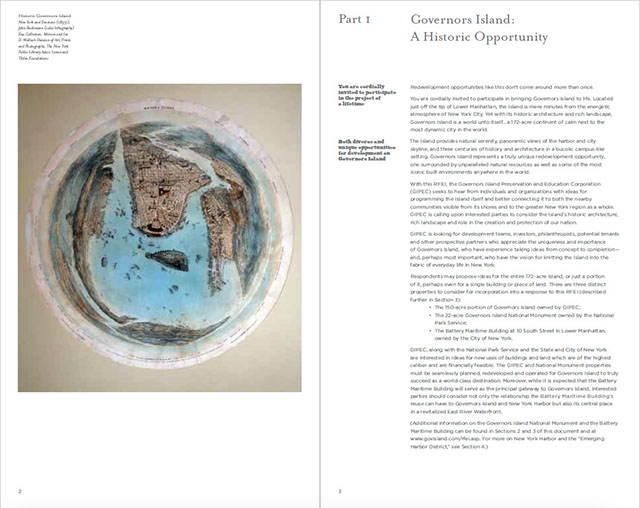
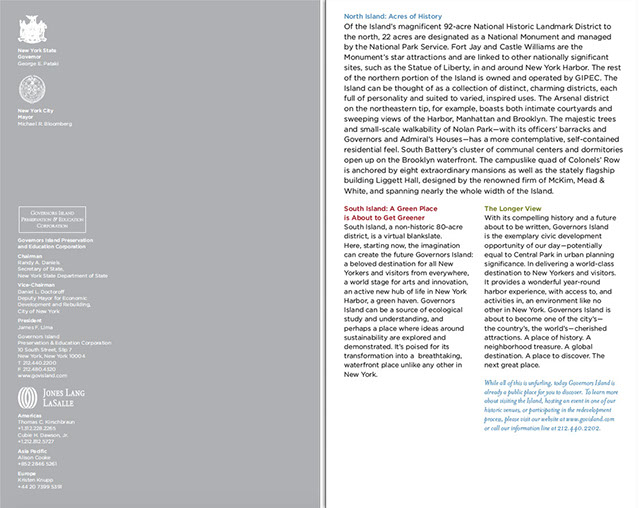
Pages 2-3. Part 2: Governor's Island: A Historic Opportunity
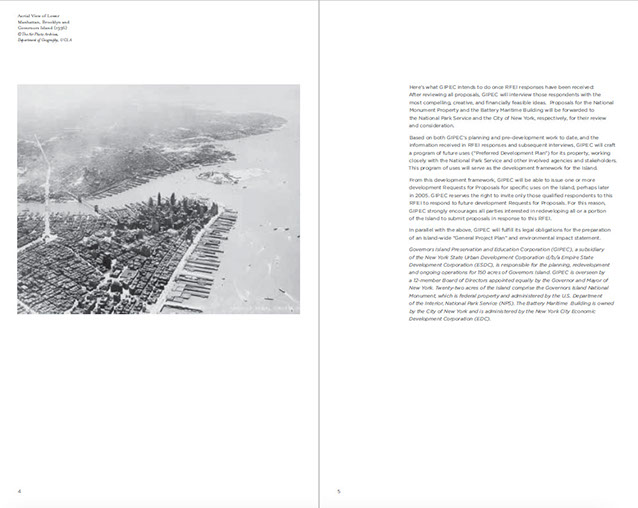
Pages 4-5. Part 2 continued
Pages 6-7
Pages 8-9. Part 2: Project Overview
Pages 10-11. Part 3: An Extraordinary Place
Pages 12-13. Part 3 continued
Pages 14-15. Part 4: The Centerpiece of NYC's...
Pages 16-17. Part 4: Emerging NY Harbor District
Pages 18-19. Part 5: NY's Strategic Prominence
Pages 20-21
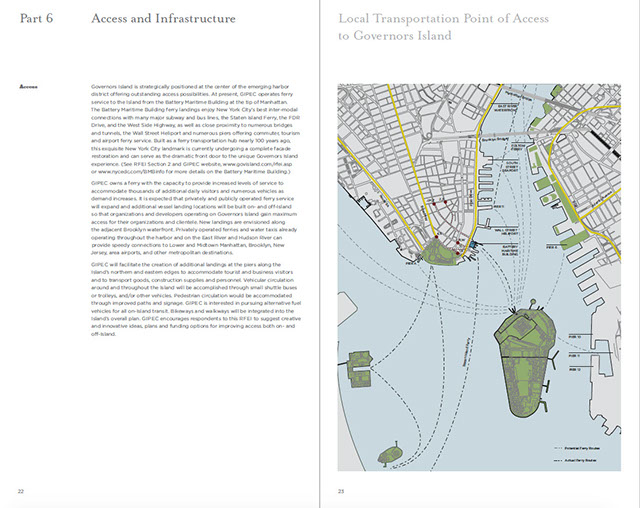
Pages 22-23. Part 6: Access and Infrastructure
Pages 24-25. Part 6: Regional Transportation, Pts of Access
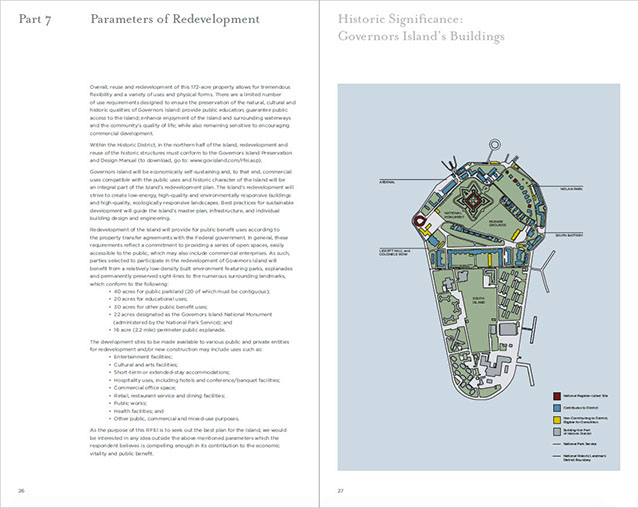
Pages 26-27. Part 7: Parameters of Redevelopment
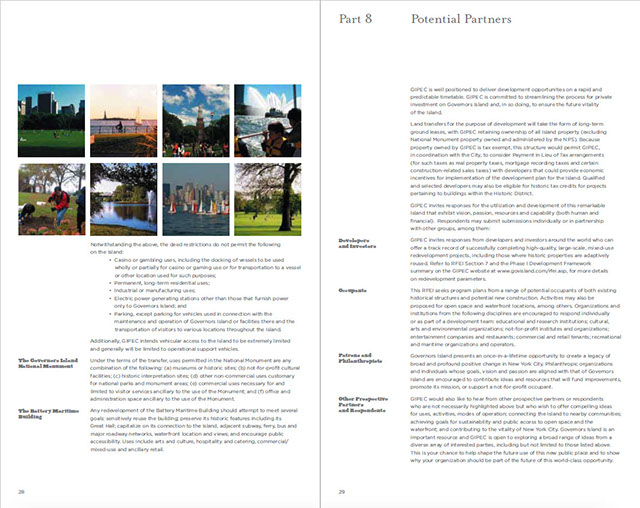
Pages 28-29. Part 8: Potential Partners
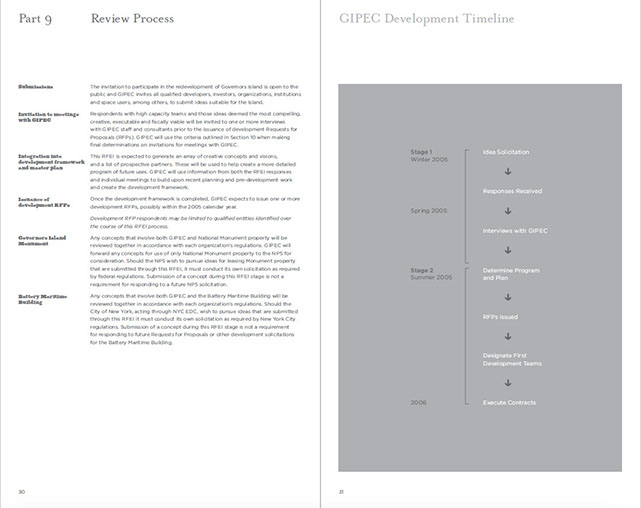
Pages 30-31. Part 9: Review Process
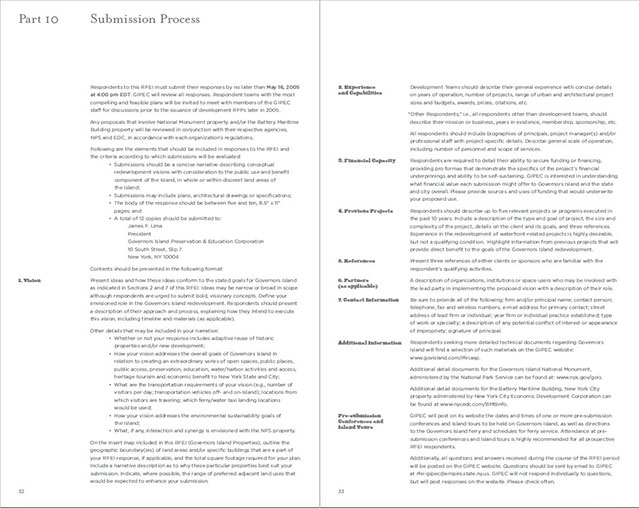
Pages 32-33. Part 10: Submission Process
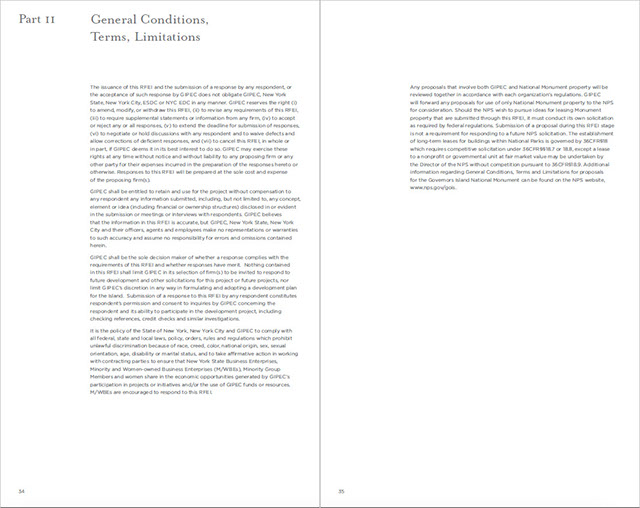
Pages 34-35. Part 11: Terms and Conditions
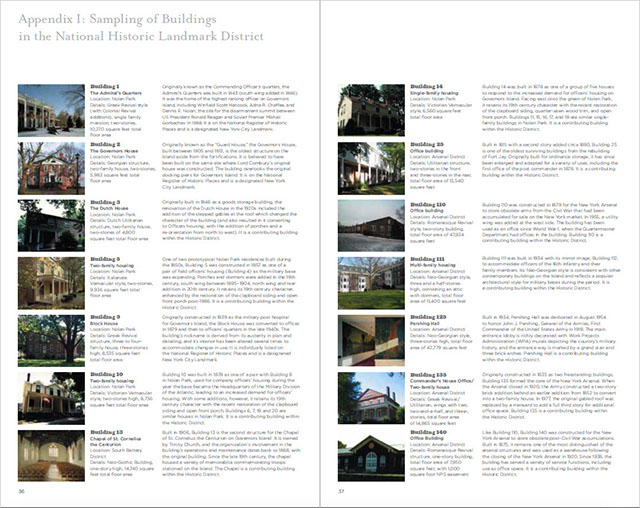
Pages 36-37. Appendix I: Buildings
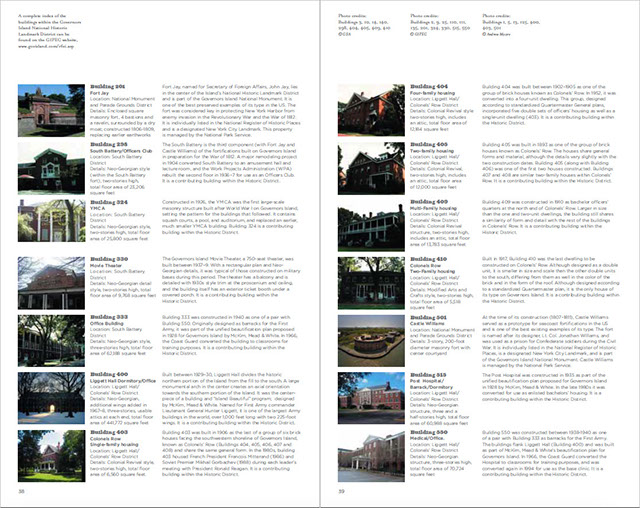
Pages 38-39. Appendix I: Buildings2
Pages 40. End page program credits with jacket overleaf
10 - 21
<
>
^
* Estimate only. See instructor and calendar for specific due dates. Summer Session schedule is more compressed with one week equal to approximately two and half semester weeks.
CSULB | COTA | DEPARTMENT OF DESIGN | BIO

Questions, feedback, suggestions?
Email me with your recommendations.
©2020 Michael LaForte / Studio LaForte, All Rights Reserved. This site and all work shown here is purely for educational purposes only. Where ever possible student work has been used or original works by Michael LaForte.
Works by professionals found online or in publication are used as instructional aids in student understanding and growth and is credited everywhere possible.